Locations
The Locations page is where you can view and add locations for your domain and subdomains.
You can create different location types for use in different Corsair areas.
Note
The following location types are among the most crucial:
Bill To - Addresses where carriers send their invoices.
Billing - Addresses where 3PLs send their invoices.
Shipping Point - Addresses that serve as shipping origin or shipping destination addresses. You access shipping points in the Address Book when creating a new order.
On the Locations page, select a location name to view it.

On the Locations page, you can search for a specific location using the default search fields.

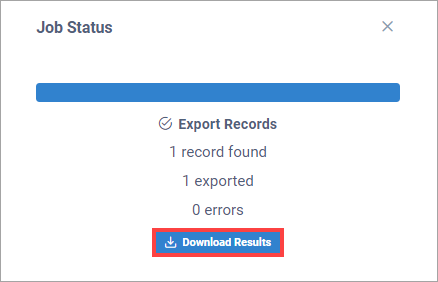
Export your location search result to a CSV file
In the top right corner of the Locations page, select Export Search Result.

In the top right corner of the Locations page, select Add Location.

On the Location page, enter the location information and select Create. See the "Add Location Field Descriptions" below for more information about the carrier fields.
Add Location Field Descriptions
Field | Description |
|---|---|
Name | The name of the location. |
Location Type | The location type of the location. |
Location Code | This optional field can contain a code assigned by your organization to the location. |
Address | The address of the location. |
City | The city for the address. |
State/Province | The state/province for the address. |
Postal Code | The postal code for the address. |
Country | The country for the address. |
Timezone | The time zone of the location. |
Latitude | The latitude of the location. |
Longitude | The longitude of the location. |
Add Share | Select Add Share to give a subdomain permission to view the location. |
Add New (Assigned Contact) | Select Add New to assign another contact to the location. You can set a contact type so the assigned contact can serve purposes such as being an alternate contact to the primary, answering billing questions, and so on. |
You can set default accessorials for a location. When you create an order and use that location, the accessorials are automatically added to the order.
On the Locations page, select a location name. The Location details page displays.
In the Default Accessorials section, select Add Accessorial.
In the Accessorial drop-down list, select the accessorials you want.
Select Save.
You can import a list of locations into Corsair using a CSV file to avoid manually entering each location.
In the top right corner of the Locations page, select Import Locations.

On the Import Locations page, select Download CSV Template to download a template CSV file to which you can add your location information.
After you complete and save your template CSV file, you have the following two options to import it into Corsair on the Import Locations page:
Select Choose File to browse to your CSV file and attach it.
Drag and drop your CSV file directly onto the page.
Select Begin Processing.
After the file is imported:
Select Upload Another File if you have more locations to import.
Select Back to Locations to return to the Locations page.
You can perform various batch actions on multiple locations, such as updating the location types, adding shares, adding contacts, updating the shipping points, or deleting.
On the Locations page, select the check box next to one or more locations. A drop-down list displays in the top-right corner of the page.

Select the drop-down arrow and select an option from the list.
If you want to create a new location, and all or most of its information will be the same as a current location, you can clone the current location. Cloning is a convenient way to avoid entering the same location information multiple times.
On the Locations page, select Clone next to the location you want to clone.
On the Location page, you can edit the location information.
Select Create.