Document Types
X1 implements the Document Message pattern from the Enterprise Integration Patterns and treats each message as an electronic document. Every document message has a type, such as an Invoice, Rate Request, Rate Response, and so on that has a header and a body. The header contains meta-information about the message such as who sent it and where it’s going. The body contains the data being transmitted.
Every message that X1 receives is assigned a Document Type, and all messages of that type are saved together in a collection of the same type.
For example, you can create a document type named Ligune Logistics Freight Invoice. Any time X1 processes a freight invoice from Ligune Logistics, the invoice is saved in the Ligune Logistics Freight Invoice document type.
Note
Some document types are used to represent EDI documents. These document types are created by the system when an EDI template is created; and include the Transaction Set Code and Version for the EDI Template. See Create an EDI template for more information.
These document types can't be deleted, but you can edit them to add additional properties such as Query Templates, Schemas, and Sample Documents. See below for more information.
The Document Types page is where you can view and add your document types.
On the Document Types page, view the list of document types.
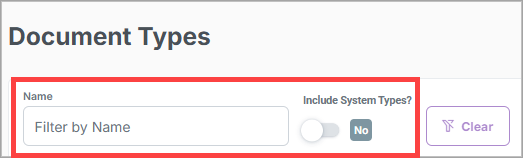
Search for a document type
On the Document Types page, you can search for a specific document type using the default search field and option.
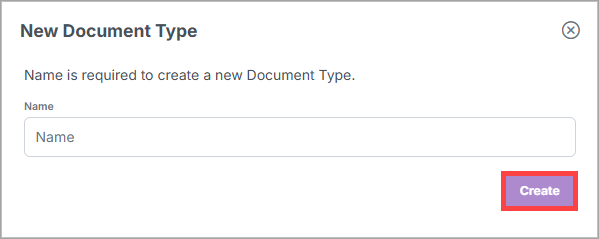
In the top right corner of the page, select Create Document Type.

In the New Document Type dialog box, enter a relevant name for the document type, and select Create.
Note
The document type has the name you gave it and an ID that X1 automatically assigned to it, based on the name. The ID is uppercase and replaces spaces with underscores.
The document type name and ID are permanent and can't be edited.
When you edit a document type, you can do one or more of the following:
Rename a document type
Create a tagged field
Delete one or more tagged fields
Create a query template
Delete one or more query templates
Add or edit a JSON schema to validate documents
Enter a sample document
In the Document Types table, do one of the following:
Next to a document type, select
 . The Document Type Details page displays.
Select a document type's ID or Name. The Document Type Details page displays.
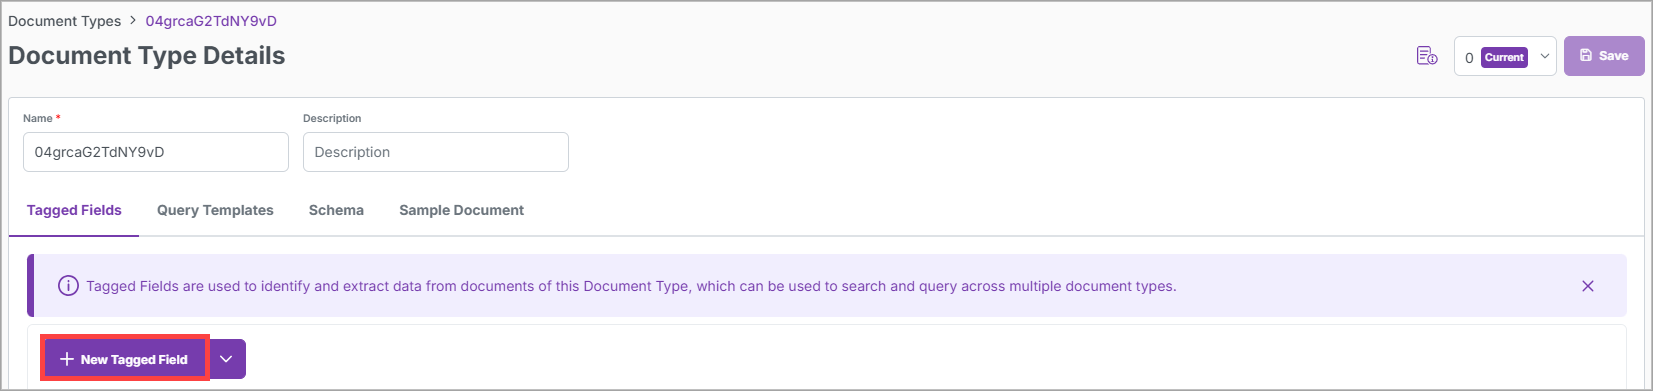
On the Document Type Details page, in the Name field, enter a new name for the document type.
Tagged fields are extracted from the document message and stored in the envelope. These "tags" can then be queried and used to correlate multiple documents of different types. For example, a Purchase Order document may contain a Purchase Order Number field that is extracted and stored as a tagged field in the envelope. This field can then be used to correlate the Purchase Order document with other documents that reference the same Purchase Order Number.
You can use dot-delimited strings for the tagged field names, such as shipment.id., and you can specify if the tagged field is in the document or the header.
In the Document Types table, do one of the following:
Next to a document type, select
. The Document Type Details page displays.Select a document type's ID or Name. The Document Type Details page displays.
On the Tagged Fields tab, select New Tagged Field.
Note
If you don't want to tag the fields manually, you can select Suggest Tags and let Exey do it for you.
Enter a field name, and select the field location:
The name of the tagged field is a string that represents the name of the field in the document message. Use dots to represent nested fields. For example, if the field is header.customer.name, the system will extract the name field from the customer object in the header object of the document message.
The location of the tagged field is either document or header. If the location is document, the tagged field is extracted from the document portion of the envelope. If the location is header, the tagged field is extracted from the header portion of the envelope. The default is document and this should be used for most cases.
In the top-right corner of the page, select Save.
Note
In the top right corner of the page, you can select the drop-down arrow to revert to a previous version.
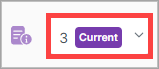
To the left of the drop-down list, you can select
 to view when the page was last modified.
The system will then extract the field from the document message and store it in the envelope when the document is processed.
In the Document Types table, do one of the following:
Next to a document type, select
. The Document Type Details page displays.Select a document type's ID or Name. The Document Type Details page displays.
On the Tagged Fields tab, select
 next to a query template.
In the top-right corner of the page, select Save.
Note
In the top right corner of the page, you can select the drop-down arrow to revert to a previous version.
To the left of the drop-down list, you can select
to view when the page was last modified.
You can create query templates to run against each of your document types.
Query templates are named queries that serve as templates for use in querying specific document types. The queries are written in MongoDB Query Language (MQL) with the percent sign % serving as a placeholder for the value to be queried.
After you create a query template for a document type, you can add it to the query for the document type on the Documents page.
In the Document Types table, do one of the following:
Next to a document type, select
. The Document Type Details page displays.Select a document type's ID or Name. The Document Type Details page displays.
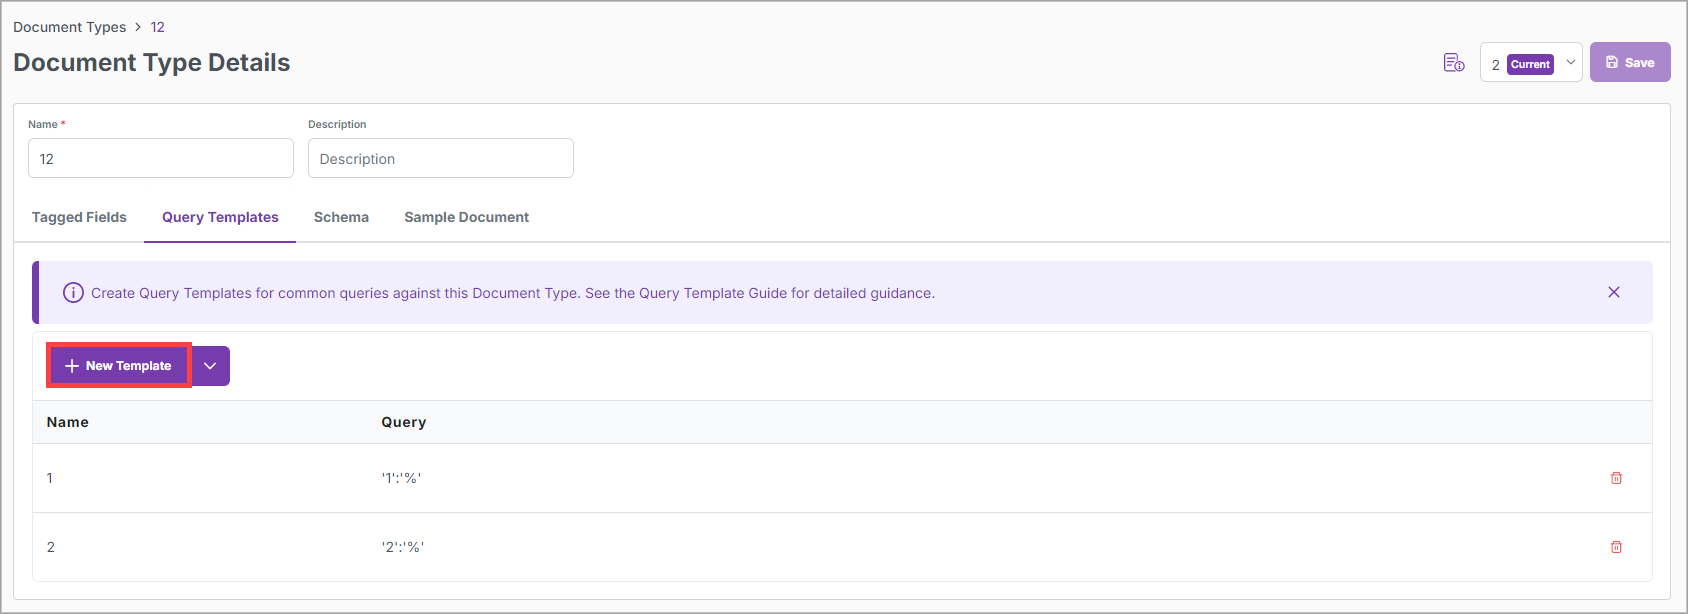
Select the Query Templates tab.
Select New Template.
Note
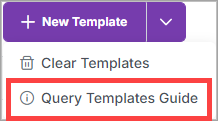
You can select Query Templates Guide to view usages, requirements, and examples to assist you with creating your query template.
In the Name column, enter a relevant name for the query template.

In the Query column, enter the query text.

In the top-right corner of the page, select Save.
Note
In the top right corner of the page, you can select the drop-down arrow to revert to a previous version.
To the left of the drop-down list, you can select
to view when the page was last modified.
Note
After you create and save the query template, you can access it when you add a named query to a document.
In the Document Types table, do one of the following:
Next to a document type, select
. The Document Type Details page displays.Select a document type's ID or Name. The Document Type Details page displays.
Select the Query Templates tab.
Edit the information:
To edit the name, select it in the Name column and enter a new name.
To edit the query, select it in the Query column and enter a new query.
In the top-right corner of the page, select Save.
Note
In the top right corner of the page, you can select the drop-down arrow to revert to a previous version.
To the left of the drop-down list, you can select
to view when the page was last modified.
In the Document Types table, do one of the following:
Next to a document type, select
. The Document Type Details page displays.Select a document type's ID or Name. The Document Type Details page displays.
Select the Query Templates tab.
You can delete query templates one at a time or all at once:
Select
next to a query template.Select Clear Templates to delete all the query templates.
In the top-right corner of the page, select Save.
Note
In the top right corner of the page, you can select the drop-down arrow to revert to a previous version.
To the left of the drop-down list, you can select
to view when the page was last modified.
You can optionally define either a JSON Schema format or an XML Schema Definition (XSD) format for a document type, depending on the format of the document message being processed. The schema validates the structure of the document message when X1 receives it. If the document message doesn't conform to the schema, X1 rejects the document message and returns an error to the sender.
Note
For schema validation to take effect, endpoints that receive the document message must have the Validate Schema option enabled.
In the Document Types table, do one of the following:
Next to a document type, select
. The Document Type Details page displays.Select a document type's ID or Name. The Document Type Details page displays.
Select the Schema tab.
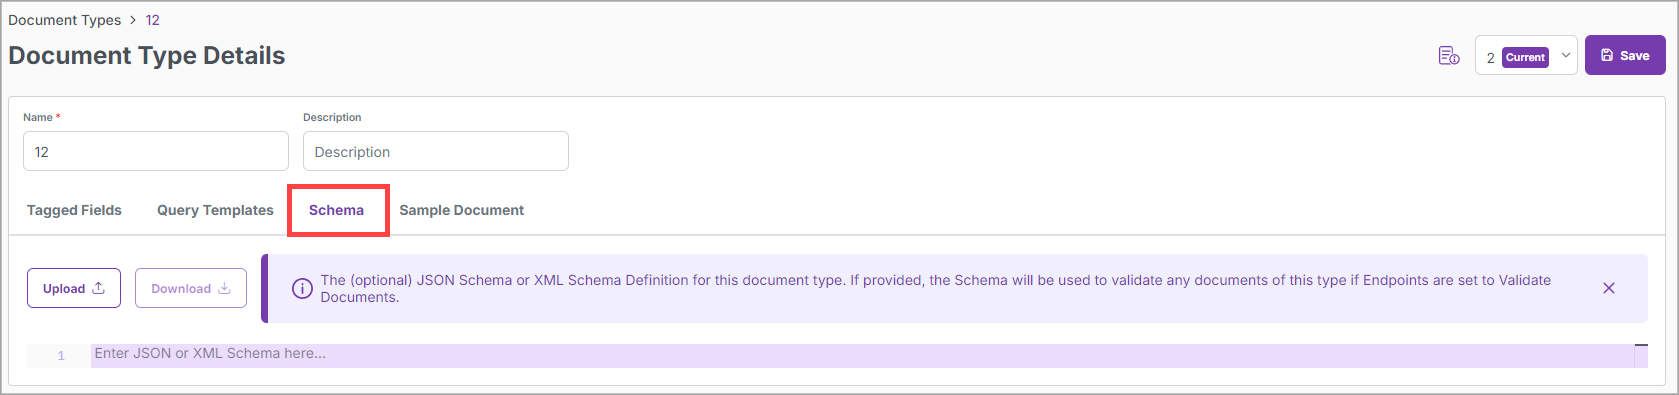
In the text area, enter your JSON schema.
In the top-right corner of the page, select Save.
Note
In the top right corner of the page, you can select the drop-down arrow to revert to a previous version.
To the left of the drop-down list, you can select
to view when the page was last modified.
You can optionally enter a sample document for a document type. The sample document provides an example of the structure of the document message that is expected for the document type.
The sample document can also help you understand the structure of the document message and create and test document messages that conform to the schema. When a translator translates from a specific document type the relevant sample document is automatically added as the test document.
In the Document Types table, do one of the following:
Next to a document type, select
. The Document Type Details page displays.Select a document type's ID or Name. The Document Type Details page displays.
Select the Sample Document tab.
Enter the sample document content.
In the top-right corner of the page, select Save.
Note
In the top right corner of the page, you can select the drop-down arrow to revert to a previous version.
To the left of the drop-down list, you can select
to view when the page was last modified.
You can set size limits on documents saved to the database. This helps ensure efficient use of storage resources, prevent uncontrolled growth of database space, and gives you the flexibility to apply higher limits to specific document types as needed.
In the Document Types table, do one of the following:
Next to a document type, select
. The Document Type Details page displays.Select a document type's ID or Name. The Document Type Details page displays.
Select the Document Size Limit tab.
Select the Enable Document Size Limit? toggle.
In the Document Size Limit field, enter the document size.
Note
You can select a size limit up to 5 MB.
Select Save.
Note
You can only delete a document type if it's not in use by a component or EDI template.
Next to a document type, select
. The Delete Document Type dialog box displays.Select Delete.