Contacts
The Contacts page is where you can view and add contacts for your domain and subdomains.
On the Contacts page, select a contact name to view it.

On the Contacts page, you can search for a specific contact using the Search box.

Export your contact search result to a CSV file
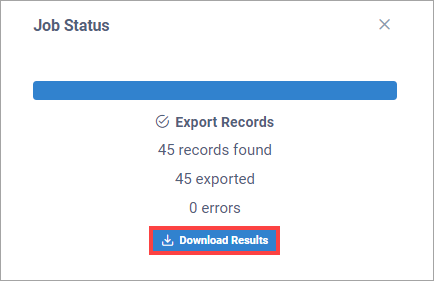
In the top right corner of the Contacts page, select Export Search Result.

In the top right corner of the Contacts page, select Add Contact.

Enter the contact information and select Create > Save. See the "Add Contact Field Descriptions" below for more information about the carrier fields.
Add Contact Field Descriptions
Field | Description |
|---|---|
Name | The contact name. |
Phone | The phone number where the contact can be reached. |
The email address where the contact can be reached. | |
Address | The address where the contact can be reached. |
City | The city for the address. |
State/Province | The state/province for the address. |
Postal Code | The ZIP code for the address. |
Country | The country for the address. |
Company Name | The company name of the contact. |
Hazmat Contract Number | Assigned to the contact by a HAZMAT incident response service. |
External ID | Used to identify the contact by an outside system. |
Assign To My Domain | The contact is assigned to the current domain by default. |
Contact Type | Select a contact type that most accurately describes the contact's job duties, such as Sales, Billing, and so on. |
Add Share | Select Add Share to give a subdomain permission to view the contact. |
You can import a list of contacts into Corsair using a CSV file to avoid manually entering each contact.
In the top right corner of the Contacts page, select Import Contacts.

On the Import Contacts page, select Download CSV Template to download a template CSV file to which you can add your contact information.
After you complete and save your template CSV file, you have the following two options to import it into Corsair on the Import Contacts page:
Select Choose File to browse to your CSV file and attach it.
Drag and drop your CSV file directly onto the page.
Select Begin Processing.
After the file is imported:
Select Upload Another File if you have more contacts to import.
Select Back to Contacts to return to the Contacts page.
On the Contacts page, select the contact you want to edit.
On the Contact page, edit the contact information and select Save.
On the Contacts page, select the contact you want to delete.
At the bottom of the Contact page, select Delete.