Financial Status of a Shipment
The financial status is a user-defined category you can apply to your shipments.
There are two primary locations where you can view the financial status:
View the financial status in the Financial Status column.

In the Running Ledger section (under Shipment Financials), view the financial status of the shipment.
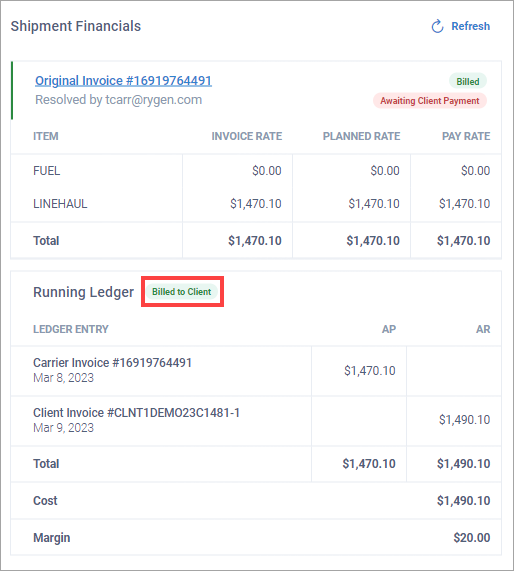
Note
The Running Ledger section contains fees from the service agreement by default.
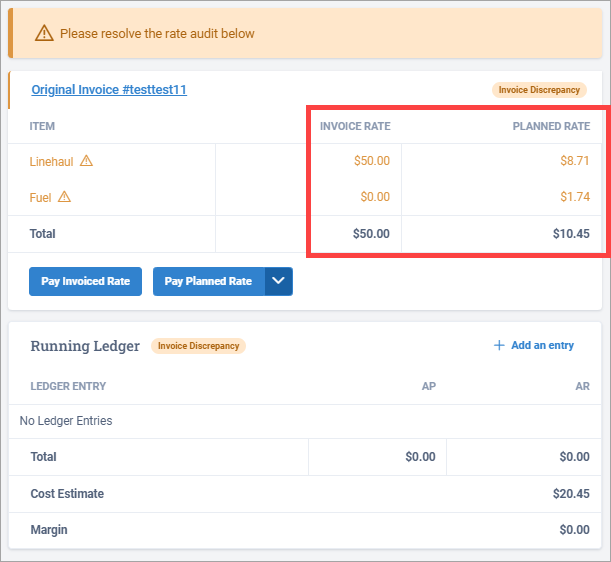
An unexpected charge added to a shipment creates a discrepancy between the planned rate and the invoice rate. In that situation, the shipment's financial status is Invoice Discrepancy.
Note
An invoice discrepancy must be resolved before the shipment can have a Billed to Client status.
In the Shipment Financials section, view the discrepancy between the planned rate and the invoice rate.
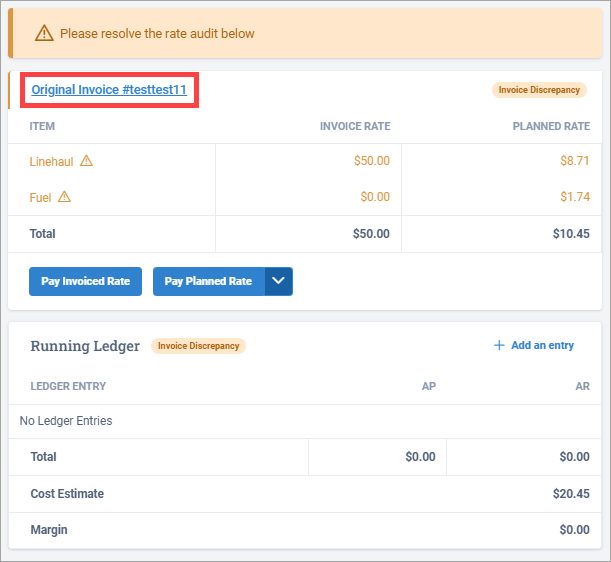
Select the original carrier invoice associated with the shipment.
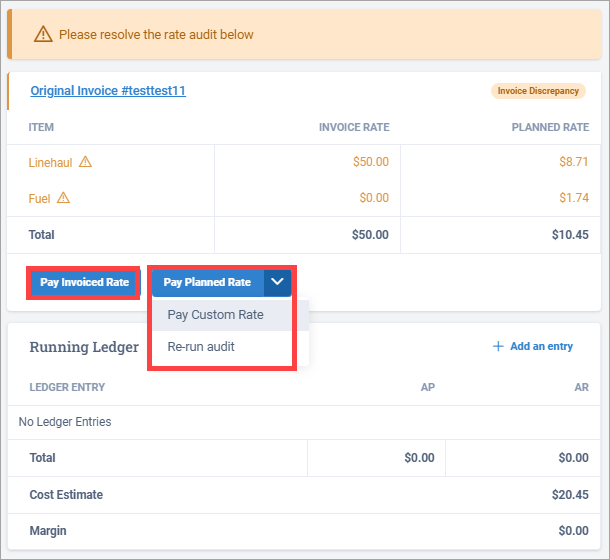
On the Carrier Invoice page, select one of the following options:
Option
Description
Pay Invoiced Rate
You want to pay the Invoice Rate only.
In the Resolution Details dialog box, select one or more Resolution Reasons, and select Save.
Note
If you select Reweigh and/or Reclass, the Resolution Details dialog box displays where you can resolve the invoice discrepancy by editing the Handling (pallet count), Class, or Weight values in one or more of the shipment's line items. After you make your edits, select Save.
Pay Planned Rate
You want to pay the Planned Rate only.
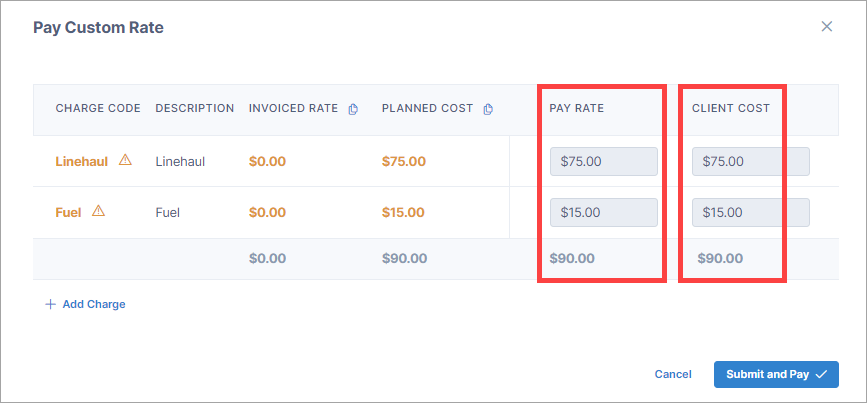
Pay Custom Rate
You want to pay a custom rate that you determine.
Pay Rate column - Your A/P total.
Client Cost column - Your A/R total.
Note
You can select
 next to either the Invoiced Rate column or the Planned Cost column to copy its values over to the Pay Rate and Client Cost columns.
Note
Select Add Charge if you want to add additional charges.
When you're ready to make the payment, select Submit and Pay.
Re-run audit
Re-run the audit to see if the invoice discrepancy clears.
Note
If you want to dispute a charge with the carrier, select Mark Disputed in the top right corner of the page to change the carrier invoice status from Invoice Discrepancy to Disputed.
At the bottom of the Carrier Invoice page, select Save.