Create a Shipment
Create a shipment
Typically, when you need freight shipped, you create an order, select a carrier rate, and then Corsair creates a shipment.
But, what if you have freight to ship where you want to use the same carrier and there are multiple drops. In that situation, you can just create a shipment directly that includes the multiple drops. Otherwise, you'd spend valuable time creating separate orders and then consolidating them into one shipment.
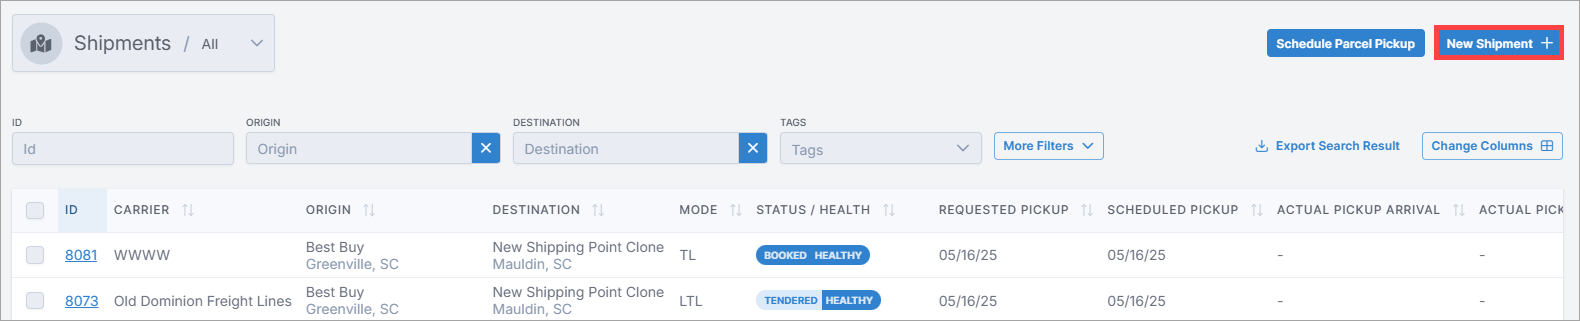
In the top right corner of the page, select New Shipment.
On the New Shipment page, enter the shipment information.
Note
If you want to create more than one shipment, at the bottom of the page, enter the number of shipments in the Copies field.
Select Create Shipment for ....
Note
The Details for Shipment page displays for the new shipment.
The new shipment has Planning shipment status.
See the "New Shipment Field Descriptions" below for more information about the new shipment fields.
New Shipment Field Descriptions
Section and Field | Description |
|---|---|
Template | You can build and use templates to create new shipments. See Shipment templates. |
Add Tag | You can create tags in shipments that you want to group together. Using tags can help you search for shipments and analyze them to extract business insights. See Tags for Orders and Shipments for more information. |
Pickup drop-down arrow | Pickup displays by default. Select the drop-down arrow to select Dropoff. |
Address Book | Select a pickup address from the list of saved addresses. See the "Save To Address Book" entry below for more information. |
Location Name | The name of the location where the freight is initially picked up by the carrier. This is typically a business name. |
Location Code | This optional field can contain a code assigned by your organization to a specific location. |
Requested Earliest Pickup | The earliest date and time that the freight can be picked up. |
Requested Latest Pickup | This optional field contains the latest date and time that the freight can be picked up. |
Appointment Required | Select if a specific appointment day and time are required to pick up the freight. |
Save To Address Book | Saves address information to retrieve and use for future shipments. Select the Address Book link on the New Shipment page to access the list of saved addresses. NoteThe saved addresses are stored on the Locations page in Settings. |
Done | Saves the information for this section. |
Line Items section | |
Description | Enter a brief product description. |
Handling | The number of freight objects (such as pallets) you are shipping. |
Packaging | The material that the freight is contained on or in for shipment. |
NMFC Number | The National Motor Freight Classification number is determined according to the NMFC class guidelines. |
Length, Width, Height | Enter the dimensions. Select the drop-down arrow and select a unit of length, such as inches. |
Weight | Enter the weight. Select the drop-down arrow and select a unit of weight, such as pounds. |
Class | The National Motor Freight Traffic Association (NMFTA) organizes freight into 18 separate classes, numbered 50 to 500. NoteThese classes apply only to LTL shipments. |
Linear Feet | The linear feet calculation is based on the pallet’s length. |
Density | The pounds per cubic foot of the freight. |
Product Number | The product number provided by the shipper. |
Value | The dollar amount value of the goods included in the shipment. The value is helpful to reference if you want to apply freight insurance to your shipment. If you have multiple line items, you can enter a value amount for each line item. NoteAfter you create the shipment, the Value amounts for each line item are added together and the total amount displays in the Value of Goods section on the Details for Shipment page. |
Turnable | If Yes, Corsair assumes items will be loaded onto the truck in a way that optimizes for linear feet. If No, Corsair uses the length as-is when calculating linear feet. |
Stackable | Can the freight be stacked? Yes or No |
Hazardous | Is the freight capable of posing a significant risk to health, safety, or property as to require special attention when transported? Yes or No
|
Pickup Stop | Verify the Pickup Stop location. |
Dropoff Stop | Verify the Dropoff Stop location. |
Refrigerated | If Yes, the freight requires refrigeration.
|
Add Reference Number | Add any reference numbers relevant to the line item. |
Done | Saves the information for this section. |
Bill To section | |
Location Name | The name of the location where the carrier will send the invoice for payment. |
Location Code | This optional field can contain a code assigned by your organization to a specific location. |
Invoice Paying Party | The party that receives and pays the invoice for shipping. |
Basic Information section | |
Direction | The flow and purpose of the shipment from the perspective of the client.
|
Billing Terms | Included on the Bill of Lading (BOL) provided to the carrier by the shipper during pickup. The Billing Terms inform the carrier who is responsible for paying for the shipment.
|
Equipment Type | The type of vehicle transporting the contents of the shipment. |
Is This a Ship Without Contact Shipment | Create the shipment without a point of contact. |
Is This a Customer Routed Shipment | The shipper hands over complete control of their freight to the carrier for them to make decisions regarding how it ships. |
Skip Any Routing Guide Auto Action For This Shipment | If you have auto tendering set up in the Routing Guide, you can skip auto tendering for this shipment if you want to tender the carrier yourself. NoteSee the Preferred Carriers entry in the Add Routing Guide Field Descriptions table on the Routing Guide page for more information. |
Value of Goods | The total dollar amount value of the goods included in the shipment. NoteThe Value amounts for each line item are added together and display in this field. |
Accessorials section | |
Add Accessorial | Additional charges added to a shipment for additional services that the carrier provides. |
Reference Numbers section | |
Add Reference Number | Add any reference numbers relevant to the shipment. The reference numbers will be added to any orders associated with the shipment and will display on the shipment's Details for Shipment page in the Related Reference Numbers section. |
GL Codes section | |
Add GL Code | Add any GL code relevant to the shipment. |
You can build and use templates to create new shipments.
In the top right corner of the page, select New Shipment.
On the New Shipment page, enter the shipment information you want for the template.
Select Save Template As.

In the Save Template dialog box, enter a name for the template and select Save.
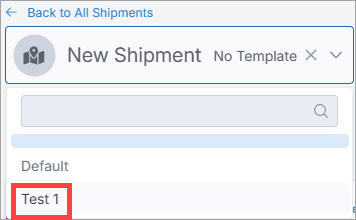
After you save the template, it's available for you to select from the drop-down list the next time you create a new shipment:
Note
You can also do any of the following to a template after you select it:
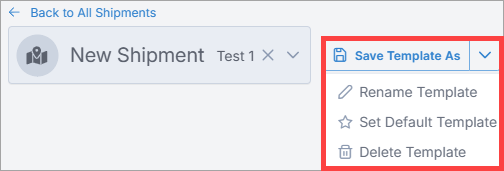
Set Default Template - Set a template as the default so that its information displays automatically after you select to create a new shipment.